Oops. I did it again! I created something I fell in love with and then shed a small tear
when it sold 2 days later :(
It went to a FABULOUS customer though! I know she will give it all the love she deserves.
Wow. I really do talk about my pieces as if they are humans. Haha. I should work on that!
Without further ado - the Red Door Desk!
when it sold 2 days later :(
It went to a FABULOUS customer though! I know she will give it all the love she deserves.
Wow. I really do talk about my pieces as if they are humans. Haha. I should work on that!
Without further ado - the Red Door Desk!

Now, how do we get this look?
Allow me to walk you through it!


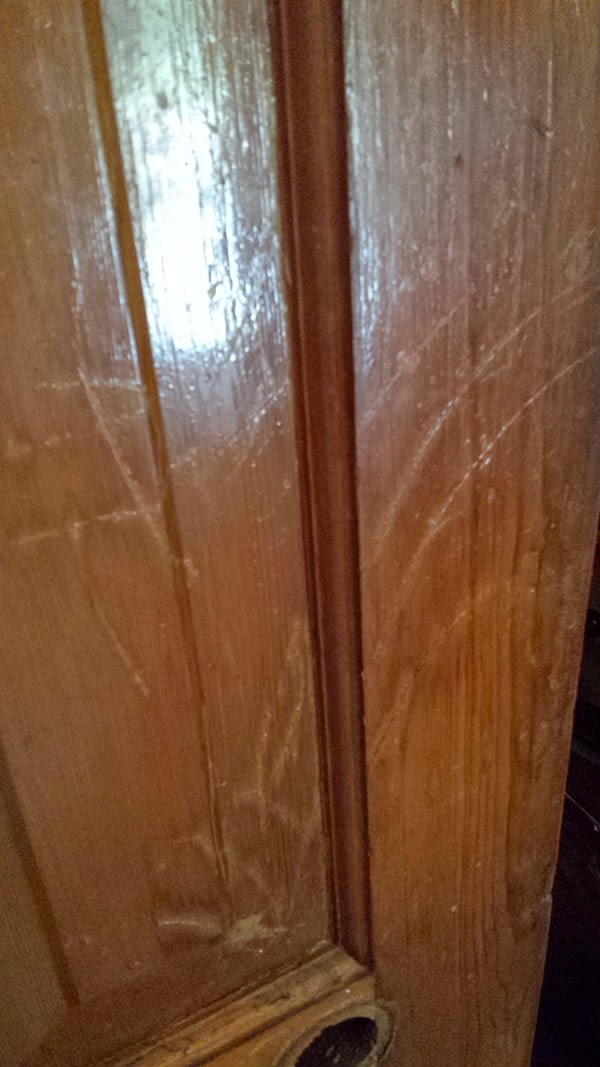

I started with this most wonderful door that I just happened to be driving past as her owners stuck her on the curb! A wee bit of damage from old hardware and maybe a dog or cat scratching the base. Nothing we can't overcome. No reason for this great solid piece of wood with so much character to head to the dump! A coat or three of some great red paint I mixed up and she was starting to take shape in my mind!


Then I had to sit and think about how I wanted to use this door. The desk image appeared in my head and I got to sorting out pieces to use in its creation. I had a few crates that had seen better days, but I knew I would eventually find a way to incorporate them into something. Just so happens, this was their day to shine! I pressure washed them, fixed up their breaks and reinforced the lower crate with strips of hardwood flooring. There would be a bit of weight resting on top of it, so I wanted to ensure it wasn't going to "crack under pressure" literally.


The next step was figuring out a nice top for the desktop area. A wonderful contractor had recently dropped off a load of wood scraps instead of taking it all to the dump. his wonderful wife told him I may have use for his leftovers and boy was she right! In the load of leftovers there were quite a few pieces of damaged hardwood flooring. I pieced a few together, trimmed it to fit the size of the door and then it was refinishing time. Now, I'll be honest. The main reason I chose these colours was because I would like to refinish my floors in our house and this is pretty much what I had in mind. So I totally used this project to my advantage here! I stripped the old finish off the boards, stained them darker and then added a thin wash of black paint. Before it cured completely, I took a sponge and soaked the dried paint, left it for a minute then vigorously rubbed off quite a bit. Then I added a few layers of an oil based urethane.


After it is all leveled, add your crate base. Glue and screw them right into the door exactly where you want them to be.
After this step was done, I cut a thin piece of wood for the hardwood top to rest on and secure to.
I chose to stain the side of the wood that would be seen from underneath the table top. Completely unnecessary step for DIY'ers, however, I know that if for some strange reason its future owner was laying on the floor and looking up at it ....
(maybe they threw out their back and can't move... their spouse doesn't get home for an hour and now leaving them to stare up at the piece for hours wondering why this piece was so different.......?
It's possible!) So keeping this completely plausible scenario in mind, I stained it and flipped it and the unfinished side then had the flooring strips - desk top - attached.


The top shelf was done with a urethaned barn board as well.
After that - it was staged, photoshot and posted on the site and FB for sale with an immediate sale!
I love this piece. It hurt to let it go.
BUT she shall be loved for years and now, that little damaged door heading to the dump shall live a new life for many more years to come!
Mission Complete.
Allow me to walk you through it!
I started with this most wonderful door that I just happened to be driving past as her owners stuck her on the curb! A wee bit of damage from old hardware and maybe a dog or cat scratching the base. Nothing we can't overcome. No reason for this great solid piece of wood with so much character to head to the dump! A coat or three of some great red paint I mixed up and she was starting to take shape in my mind!
Then I had to sit and think about how I wanted to use this door. The desk image appeared in my head and I got to sorting out pieces to use in its creation. I had a few crates that had seen better days, but I knew I would eventually find a way to incorporate them into something. Just so happens, this was their day to shine! I pressure washed them, fixed up their breaks and reinforced the lower crate with strips of hardwood flooring. There would be a bit of weight resting on top of it, so I wanted to ensure it wasn't going to "crack under pressure" literally.
The next step was figuring out a nice top for the desktop area. A wonderful contractor had recently dropped off a load of wood scraps instead of taking it all to the dump. his wonderful wife told him I may have use for his leftovers and boy was she right! In the load of leftovers there were quite a few pieces of damaged hardwood flooring. I pieced a few together, trimmed it to fit the size of the door and then it was refinishing time. Now, I'll be honest. The main reason I chose these colours was because I would like to refinish my floors in our house and this is pretty much what I had in mind. So I totally used this project to my advantage here! I stripped the old finish off the boards, stained them darker and then added a thin wash of black paint. Before it cured completely, I took a sponge and soaked the dried paint, left it for a minute then vigorously rubbed off quite a bit. Then I added a few layers of an oil based urethane.
Level. Level. Level.
Before attaching anything, make sure to level your door.
It needs to be standing perfectly upright.
Of course, if your floors aren't level, then put it where it is going to be homed and level it there before attaching the permanent base of crates.
Before attaching anything, make sure to level your door.
It needs to be standing perfectly upright.
Of course, if your floors aren't level, then put it where it is going to be homed and level it there before attaching the permanent base of crates.
After it is all leveled, add your crate base. Glue and screw them right into the door exactly where you want them to be.
After this step was done, I cut a thin piece of wood for the hardwood top to rest on and secure to.
I chose to stain the side of the wood that would be seen from underneath the table top. Completely unnecessary step for DIY'ers, however, I know that if for some strange reason its future owner was laying on the floor and looking up at it ....
(maybe they threw out their back and can't move... their spouse doesn't get home for an hour and now leaving them to stare up at the piece for hours wondering why this piece was so different.......?
It's possible!) So keeping this completely plausible scenario in mind, I stained it and flipped it and the unfinished side then had the flooring strips - desk top - attached.
How it looks completed.
The top shelf was done with a urethaned barn board as well.
After that - it was staged, photoshot and posted on the site and FB for sale with an immediate sale!
I love this piece. It hurt to let it go.
BUT she shall be loved for years and now, that little damaged door heading to the dump shall live a new life for many more years to come!
Mission Complete.
You may come and visit your pieces any time. They are the gems of my home! <3
ReplyDelete